How to Label Your Moving Boxes Effectively
How to Label Your Moving Boxes Effectively
Moving house is already a huge undertaking - but if you label your boxes properly, it can make a huge difference in how smoothly your move goes. Clear labelling helps keep your belongings organised, protects fragile items, and makes unpacking a thousand times easier.
In this guide, we’ll walk you through how to label your moving boxes like a pro, including what to write, how to colour-code, and what mistakes to avoid. Whether you’re hiring professional movers or doing it yourself, this small step can save you a lot of time and stress.
Why Box Labelling Matters
It may seem like an overkill to label every box in detail, but it’s one of the easiest ways to reduce chaos on moving day. Here’s why it helps:
- Prevents breakages - fragile boxes get handled with more care.
- Saves time - movers know where to place each box straight away.
- Speeds up unpacking - you’ll know exactly where things are.
- Reduces stress - no more mystery boxes weeks after moving.
When you're in the middle of organising a move, those few minutes spent labelling can spare you hours of hunting later.
Step 1: Choose the Right Supplies
You don’t need anything fancy - just good basics that are easy to read and won’t rub off during the move. Grab the following:
- Permanent markers (black for general, red for fragile)
- Colour-coded stickers or labels
- Pre-printed room labels (optional, but great for those of you who like feeling extra organised!)
- Fragile tape or warning labels
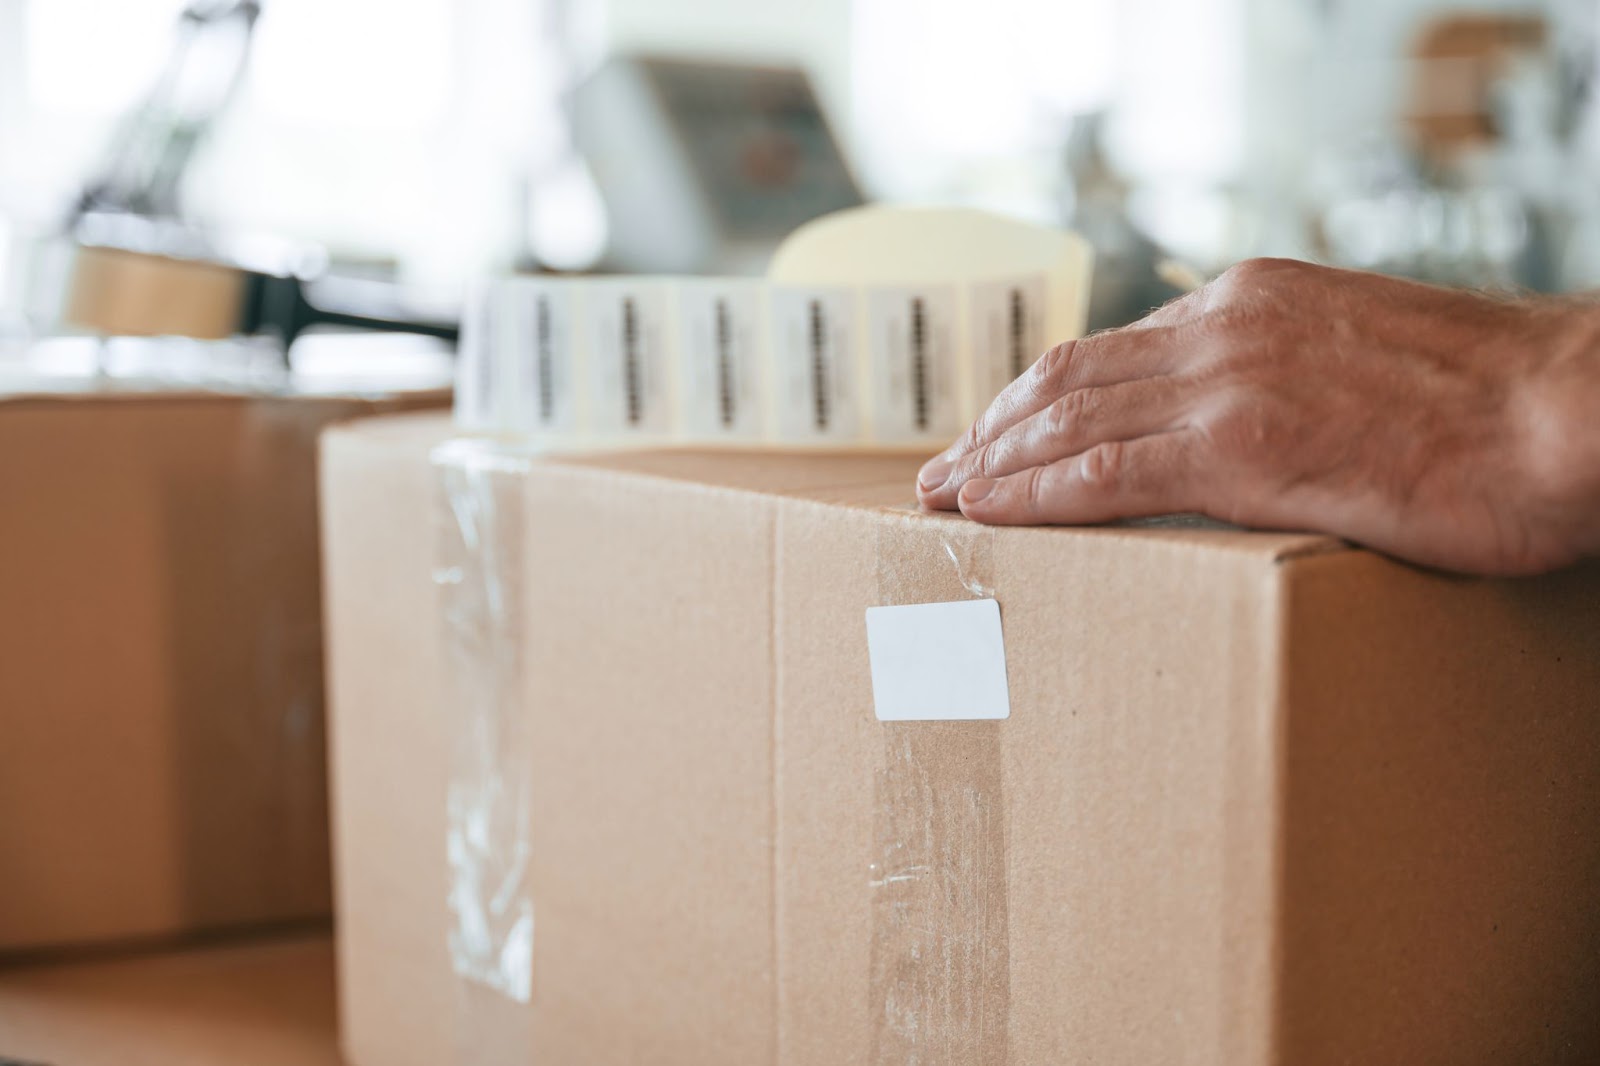
Bonus tip: Use high-quality tape to seal boxes before labelling. If the tape peels off, your label may go with it.
Step 2: Use a Simple, Consistent Format
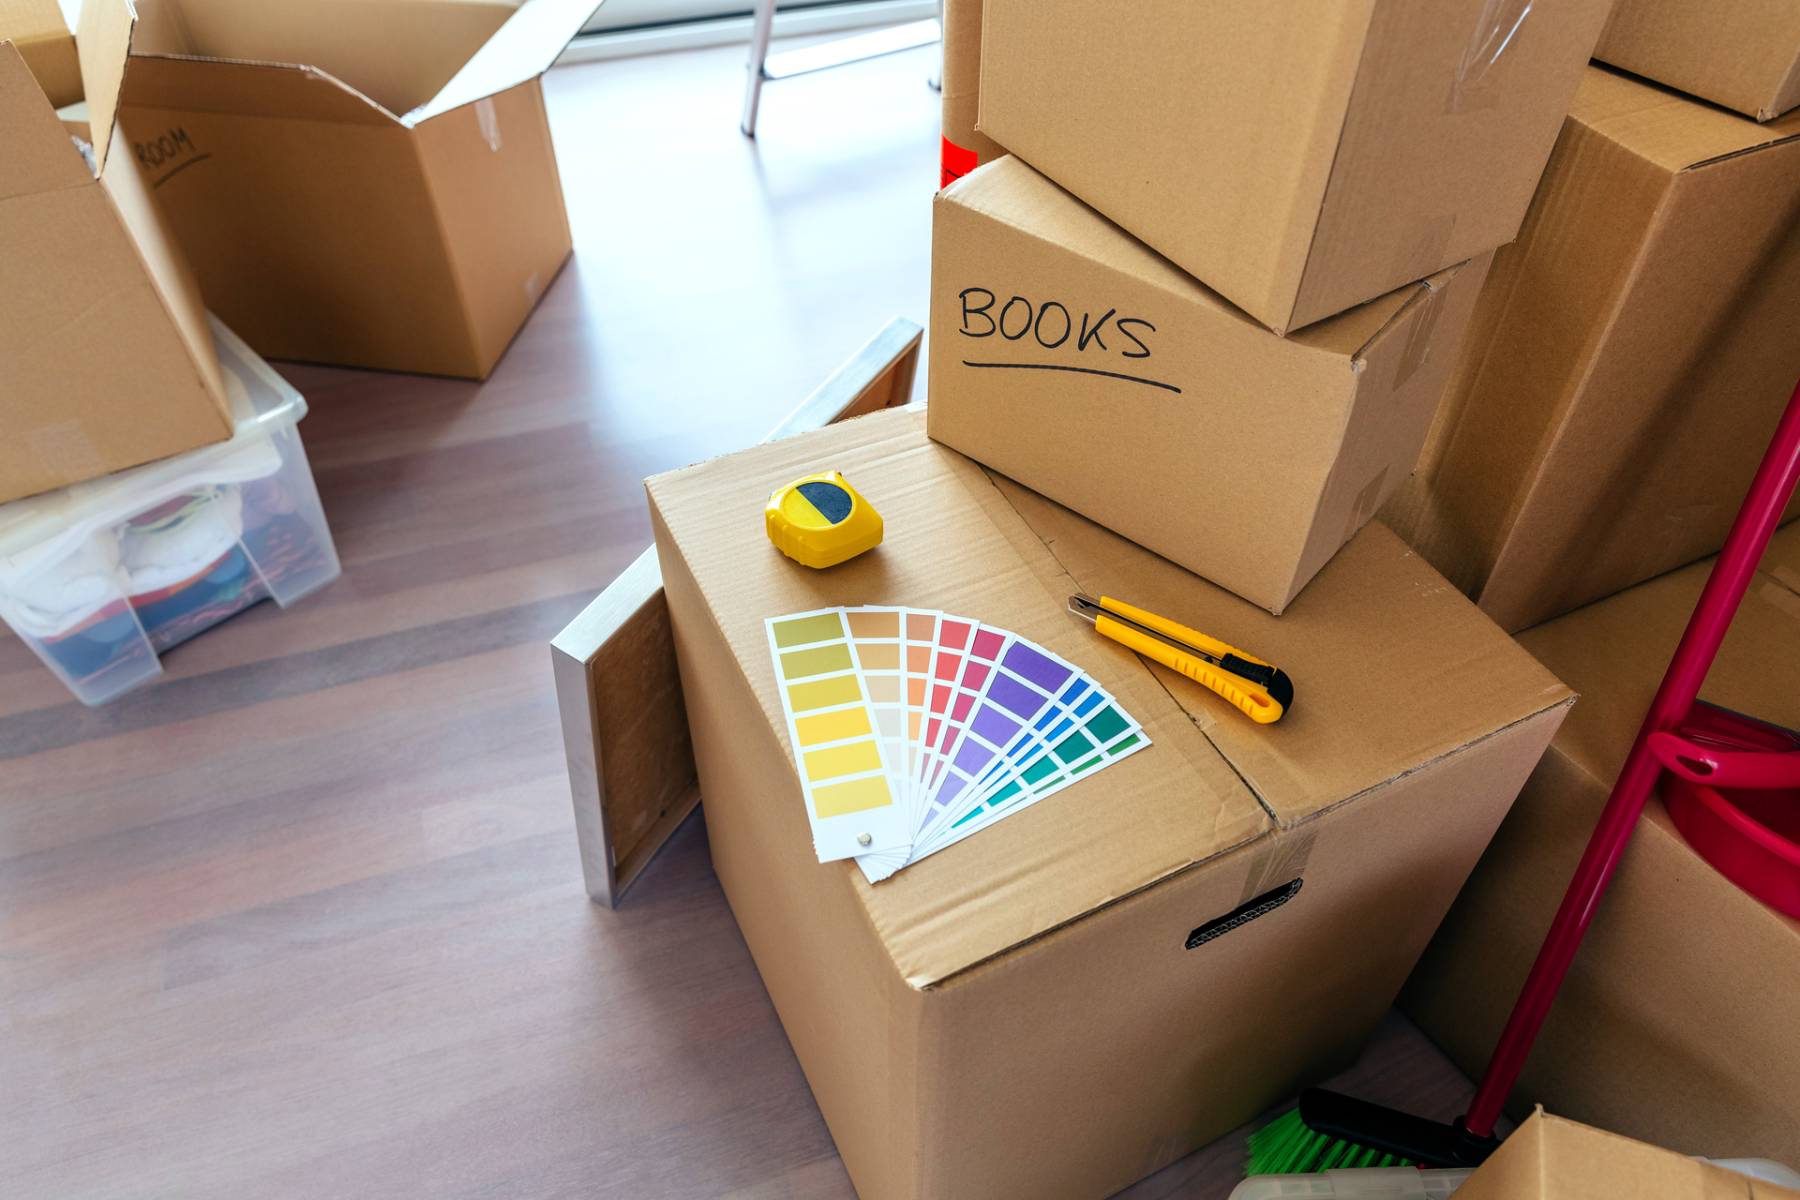
Each box should have the following clearly written on at least two sides:
- Room name (e.g. “Kitchen”, “Bedroom 2”)
- Brief list of contents (e.g. “Plates & mugs”, “Winter clothes”)
- Handling notes (e.g. “Fragile”, “Heavy”, “This Way Up”)
- Box number (e.g. Box 12 of 45)
Example label:
Kitchen
Plates, cups, blender
FRAGILE – Box 5 of 45
Avoid writing just “Misc.” or “Stuff”. Trust me, you’ll completely forget what was in the box by the time you turn around.
Step 3: Colour-Code by Room
Using a colour for each room helps movers (and future you) spot where a box should go at a glance.
- Kitchen – Yellow
- Bedroom 1 – Blue
- Bedroom 2 – Green
- Bathroom – Purple
- Lounge – Red
- Storage – Grey
Stick to your system and use coloured labels or dots on all sides of the box. Place matching stickers on doors at the new house so movers know where to place each box.
Step 4: Create an Inventory or Numbering System
This step is optional but super helpful, and may appeal to those of you geared towards hyper-organisation:
- Box Numbers - write a number on each box and keep a matching list on your phone or printed out.
- Inventory Sheet - for each box, list what’s inside. Great for valuable or essential items.
This is particularly useful for storage jobs or long-distance moves, where you might not unpack everything straight away.
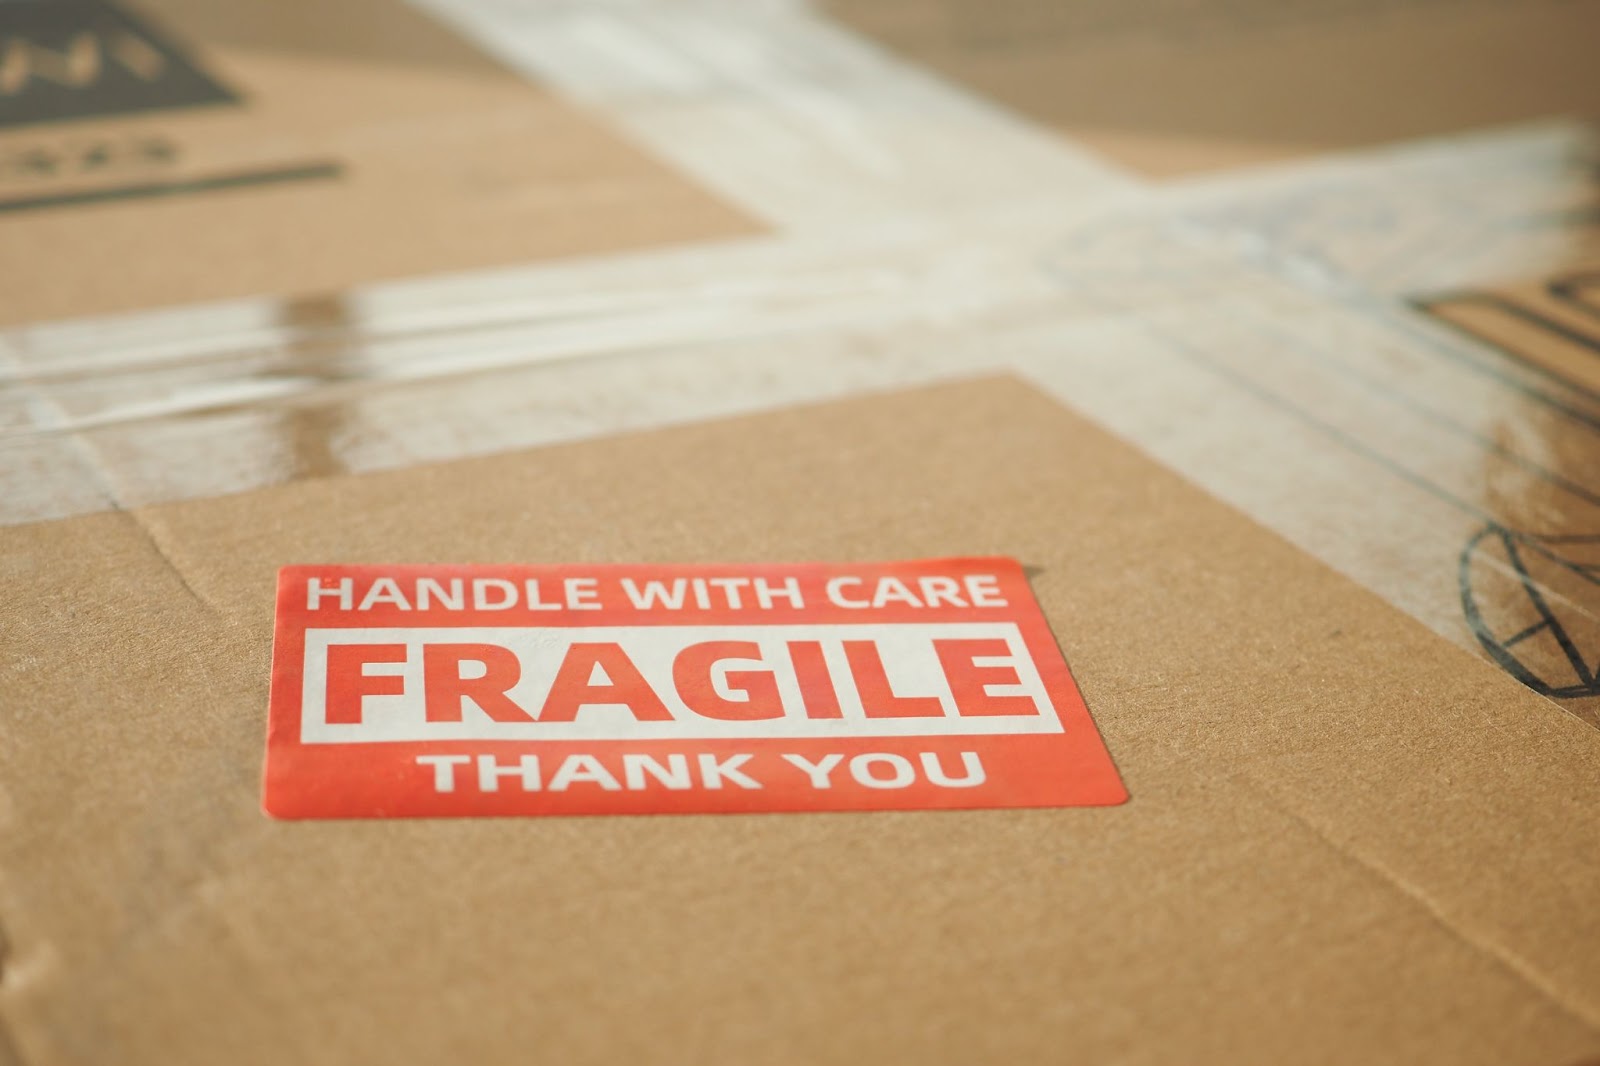
Step 5: Clearly Mark Fragile Boxes
Label fragile boxes on all sides using a red marker or bright stickers. Write “FRAGILE” and “THIS WAY UP” if orientation matters.
Want extra protection? Use our Jim Boxes - hard plastic moving crates that are sturdier than cardboard and great for fragile items. Or, consider our packing service to have experienced packers secure everything properly for you. This works especially well in combination with our moving service, as our movers are familiar with all the stickers and symbols used by the packing team when labelling.
Step 6: Special Labels for Priority Items
There’s nothing worse than needing your toothbrush or phone charger and not knowing where you packed it. Create labels like:
- Essentials – Open First
- First Night Box
- Important Documents
Highlight these with bright tape or place a star next to the box number on your inventory sheet.
Bonus Tips to Keep in Mind
- Label boxes on the top and at least one side - so you can still read it when stacked.
- Don’t rely on post-it notes or stickers alone - use permanent marker as backup.
- Don’t label boxes on the lid only - they’ll be unreadable once stacked.
- If reusing boxes, cover up or cross out old labels to avoid confusion.
Want to Skip the Labelling Hassle?
If the thought of packing and labelling everything is already giving you a headache, let us help. Jim’s Removals and Storage offers:
- Professional packing services
- Reusable Jim Boxes starting from $2 per box
- Packing materials and labels delivered to your door
We make moving simple, safe, and efficient - so you can focus on settling into your new home without all the headaches.
Final Thoughts
Labelling your moving boxes isn’t just about being neat - it’s about setting yourself up for a smoother move, safer handling, and faster unpacking. With a bit of extra effort, you’ll save yourself hours of confusion later.
And if you want a truly stress-free experience? Get in touch with Jim’s Removals and let us take care of the heavy lifting - labels included.
Call us today for a free quote or to book your packing service today!